You can enter a billing code using the printer of the
machine.
For an overview of a billing code, refer to "
BILLING CODE".
This setting is required
only in the Windows environment. (Always usable under macOS environment)
Click the [Start] button, select [Settings] → [Bluetooth & devices] → [Printers & scanners].
Click the printer driver name of the machine and click [Printing preferences].
In Windows 10, click the printer driver name of the machine, click [Manage] and click [Printing Preferences].Specify a billing code
 ,
,
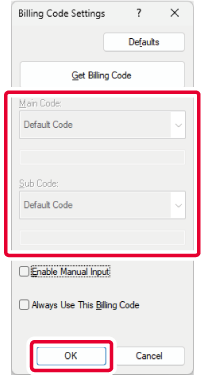
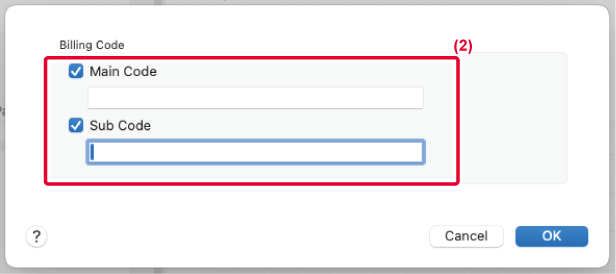
When printing starts, the billing code setting screen
appears.
Enter the main code and sub code, and click the [OK]
button.
To retain the specified billing code, set [Always Use This
Billing Code] to
.
Version 02a / bp71m65_usr_02a_us
