SPECIFYING A BILLING CODE USING THE PRINTER DRIVER
You can enter a billing code using the printer of the machine.
For an overview of a billing code, refer to "BILLING CODE".
ENABLE BILLING CODE
This setting is required only in the Windows environment. (Always usable under macOS
environment)
Click the [Start] button, select [Settings] → [Device] → [Devices and Printers].
- In Windows 11, click the [Start] button, select [Devices] → [Printers & scanners].
- In Windows Server 2012, right-click the [Start] button, select [Control Panel] → [View
devices and printers] (or [Devices and Printers]).
Right-click the printer driver icon of the machine and select [Printer Properties].
Specify a billing code
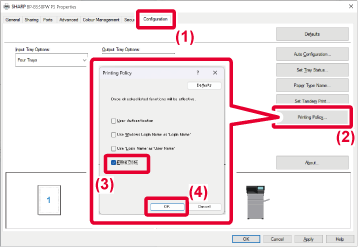
- Click the [Configuration] tab.
- Click the [Printing Policy] button.
- Set the [Billing Code] check box to
 ,
,
- Click the [OK] button.
Windows
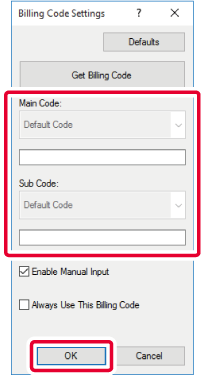
When printing starts, the billing code setting screen appears.
Enter the main code and sub code, and click the [OK] button.
To retain the specified billing code, set [Always Use This Billing Code] to.
- You can click [Get Billing Code] to get the machine's billing code list and select
the billing code from the list.
- If you have started printing without specifying a billing code, a use code is recorded
in the job log.
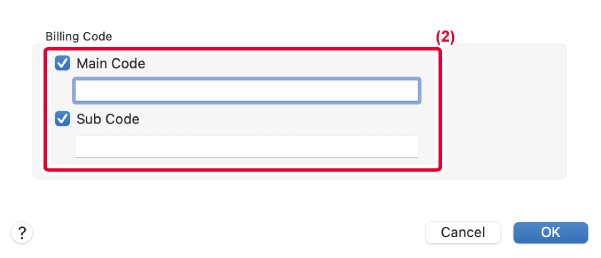
macOS
- Select [Billing Code] from the "Printer Options".
In macOS 12 and earlier, select [Billing Code].
- Enter the main code and sub code.