FAX TRANSMISSION SEQUENCE
This section explains the basic steps for sending a
fax.
Place the original.
Place the original in the document feeder tray of the automatic
document feeder, or on the document glass.
AUTOMATIC DOCUMENT FEEDER
DOCUMENT GLASS
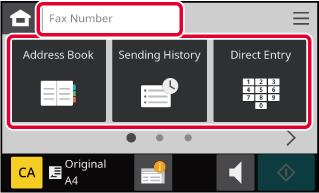
Enter the destination fax number.
Tap the numeric keys to enter the destination number
directly, or search and retrieve the address book or number.
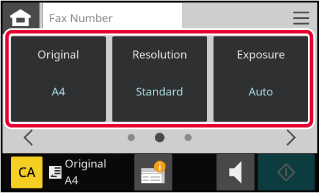
Configure the settings.
Specify the original scan size, exposure, resolution,
etc.
If necessary, you can refer to the following functions
for the setting.
Send the original.
Tap the [Start] key.
- When the
original is placed on the document glass:
- When
sending a fax normally (memory transmission)
Repeat
the steps for placing and scanning the originals the same number
of times as there are originals. After scanning all originals, tap
the [Read-End] key.
- When sending
a fax in direct transmission mode
Multi-page
originals cannot be scanned in direct transmission mode. Tap the
[Start] key to start transmission.
When "Fax Dest. Confirmation Mode" is enabled on
the Web page under [System Settings] → [Image Send Settings] → [Fax
Settings] → [Default Settings], tap the [Start] key. After tapping
the [Start] key (or after retyping the direct fax address when [Require
Re-entry when Directly Entering the Fax Destination]), the Destination
List screen will appear. After confirming the displayed destinations,
tap the [OK] key, then tap the [Enter for send] key to start sending.
IF PAPER MISFEEDS IN THE AUTOMATIC DOCUMENT FEEDER
2 patterns can be set.
In the Web page, select [System Settings] → [Image Send Settings] → [Scan Settings]
→ [Condition Settings] →
[Quick On Line Sending].
- If enabled
When an original
misfeeds, scanning stops, and scanned data up until that point is
sent.
- If disabled
Even if an
original misfeeds, scanning does not stop, the misfed original is
set again, and scanning starts again. After all of the original
has been scanned, the scanned data is sent.
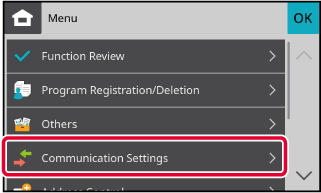
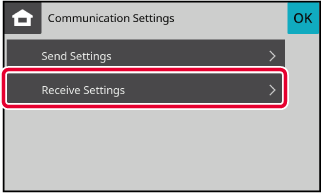
COMMUNICATION SETTINGS
Set "Send Settings" and "Receive Settings".
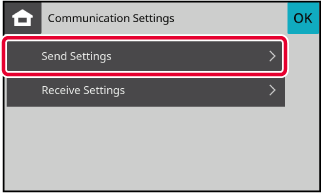
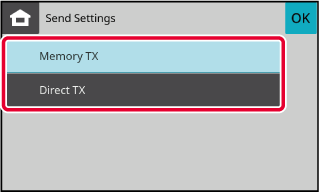
Send Settings
Tap the [Menu] icon, [Communication Settings] and [Send
Settings]
Select a transmission method from [Memory TX] or [Direct
TX].
After the confirmation is completed, tap

.
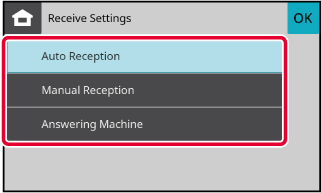
Receive Settings
Tap the [Menu] icon, [Communication Settings] and [Receive
Settings]
Select a receiving method from [Auto Reception], [Manual
Reception] or [Answering Machine].
After the confirmation is completed, tap
.
.png)